I uploaded a video to the ImageKit media library and I can get a video URL from the dashboard. But, how do I now play it on my website? Is there some setup I need to do?
To play a video on your website that you’ve uploaded to the ImageKit Media Library, you have two options:
1. Use the video URL with HTML <video> Tag
You can embed the video using the standard HTML5 <video> tag:
<video src="https://ik.imagekit.io/your_imagekit_id/path-to-video/video.mp4" controls width="640" height="360" />
ImageKit automatically converts video to WebM or MP4 depending on browser support.
Optional: Use Transformations
You can also resize using ImageKit URL parameters, like so:
?tr=w-640,h-360
Example:
<video src="https://ik.imagekit.io/your_imagekit_id/path-to-video/video.mp4?tr=w-640,h-360" controls width="640" height="360" />
2. Embed the video directly using iframe
ImageKit offers an option to embed the video directly on websites instead of writing the code on your own. This is great if you are a non-technical person and want to embed the video, let’s say on a blog. This option is very similar to the Share/Embed option you get on YouTube.
For this, right-click on the video and click on “Embed”. You will get a popup like shown below:
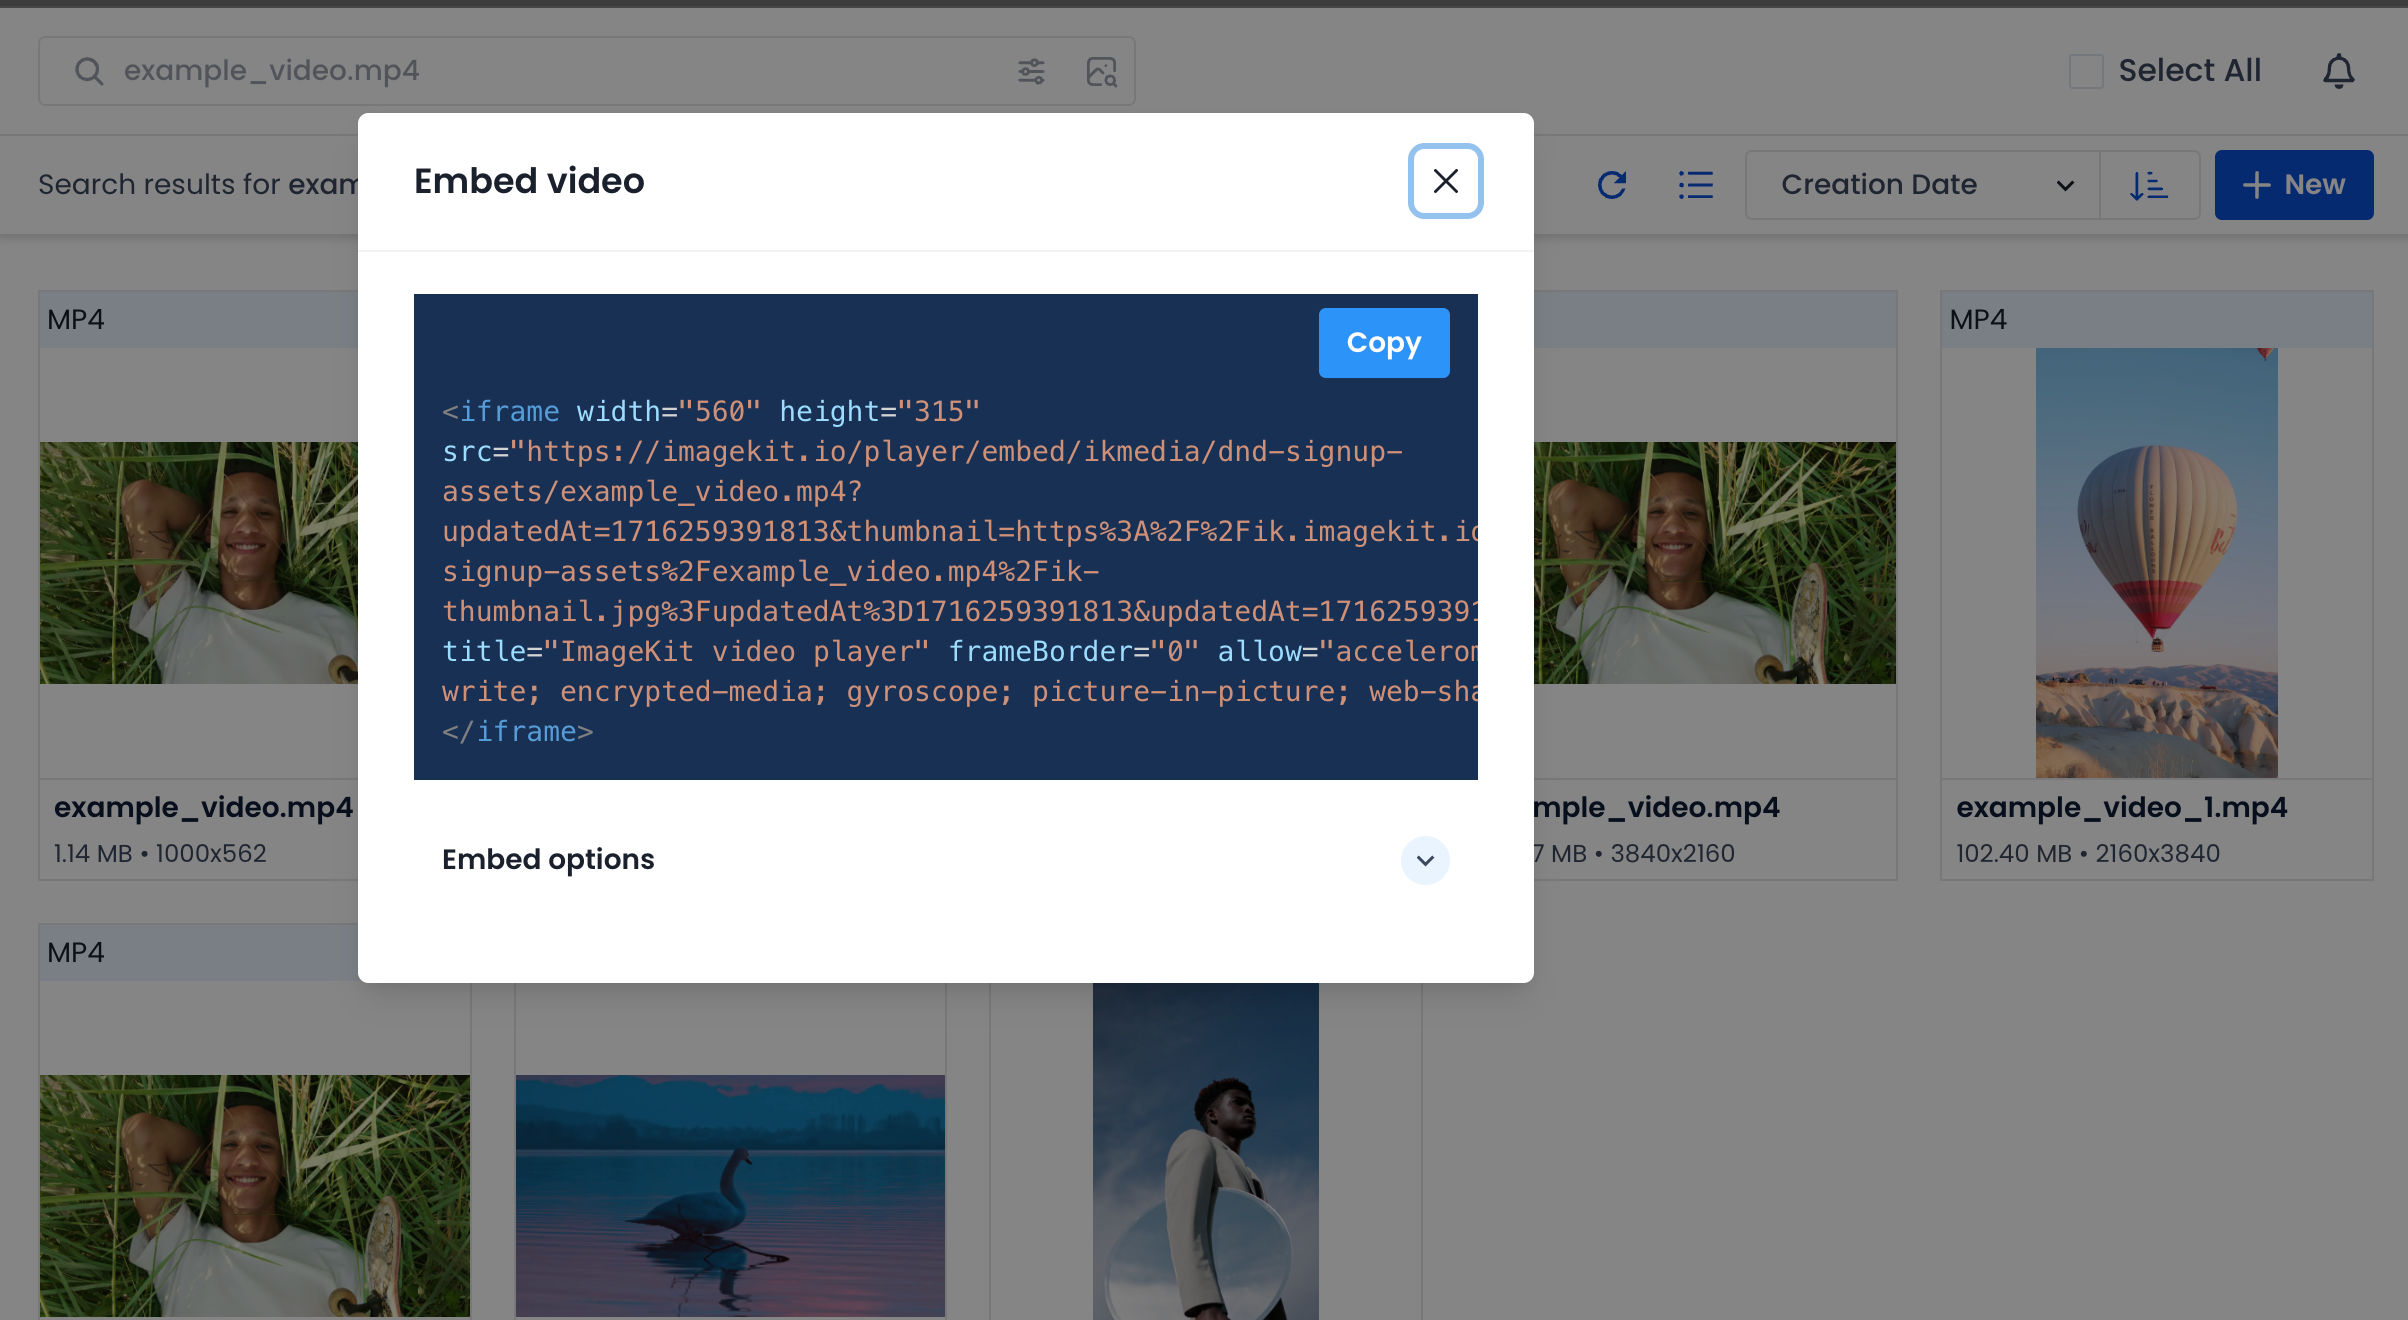
You just have to copy paste this on any page that contains the HTML or a blog platform like WordPress.
You get option to enable Adaptive Bitrate Streaming under “Embed options”. This will ensure that your video stream automatically adapts to the user’s network conditions and device in the iframe embed.
3. Use it for Adaptive Streaming with a video player
You can use ImageKit’s Adaptive streaming transformations to create a HLS or DASH manifest, which can then be provided to a video player like video.js (or any other supporting player natively available on your platform). Unlike the iframe option above, this option gives you more control over the streaming experience while still using ImageKit for processing and video delivery.